Azure AD Employee Import Process
In addition to using the ALICE interface to create employee data in the ALICE Portal, data can also be imported through an Azure AD import. Before performing an import, Azure AD must first be configured to integrate with ALICE Receptionist. Refer to the Connecting Azure AD to ALICE section for more details.
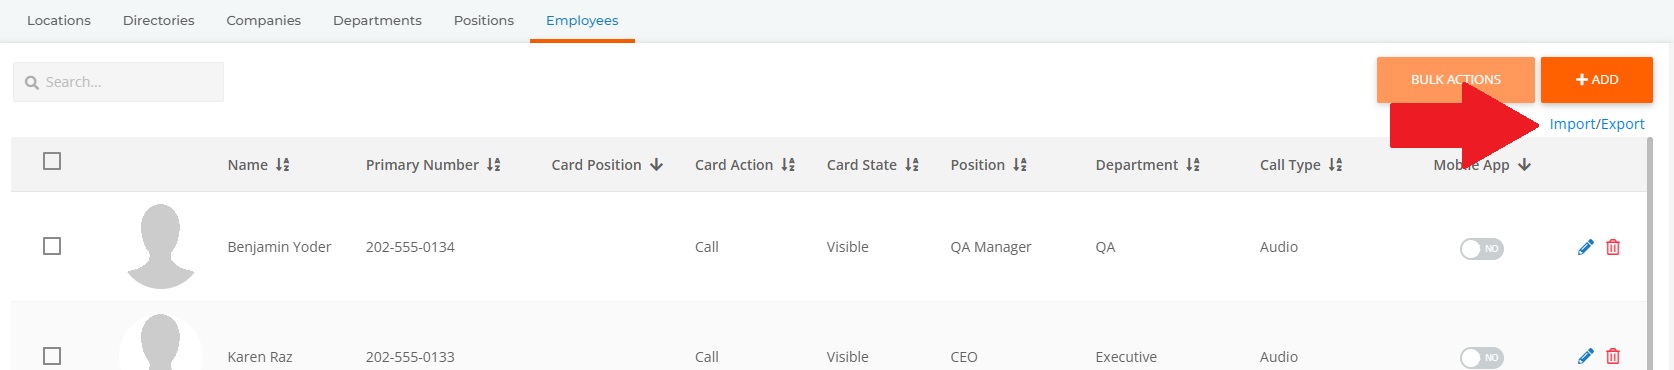
To start an import, under the Directory Management section of the portal, select the Directories section and go to the ALICE Portal Employees Tab tab. Select Import option in the top right corner of the screen.
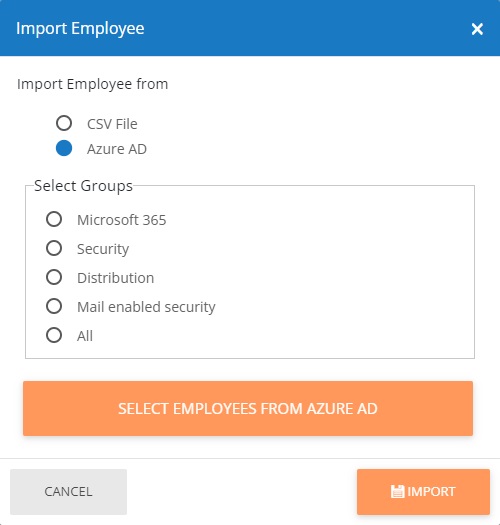
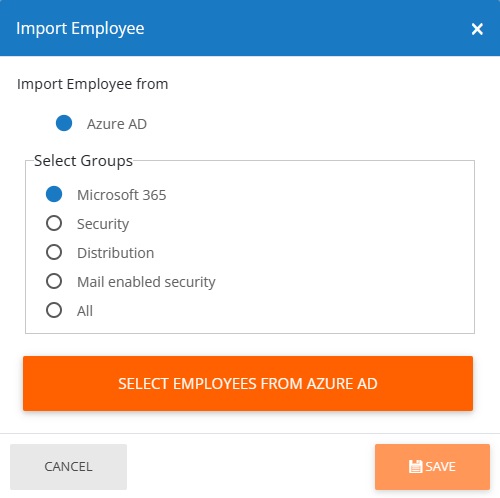
Selecting the "Azure AD" import option will provide five options for importing from groups:
-
Microsoft 365
-
Security
-
Distribution
-
Mail enabled security
-
All
After selecting the group import option, use the Select Employees From Azure AD option.
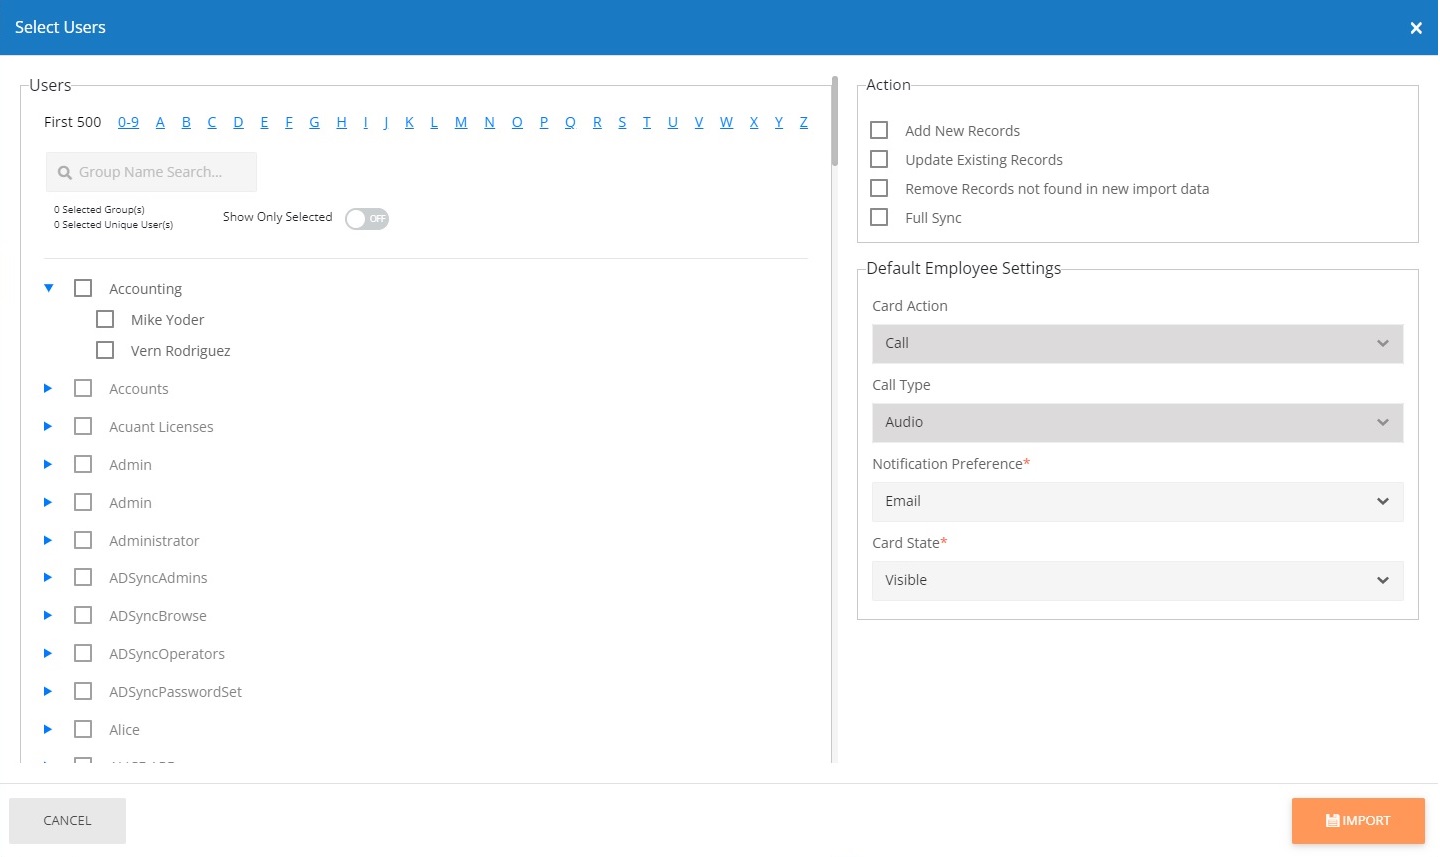
A pop-up window will appear with employee records that can be imported. The data on this screen may take some time to load, depending on the size of your organization and the amount of information in your Active Directory.
Users
Place a checkmark by the groups that will be imported into the ALICE Receptionist database. To import individual users, select the arrow by the group to expand the listing to show individual employees. Select the checkmark beside the employee to include them in the import.
If many groups are in the import, the "Group Name Search" can be used to narrow down the results of groups that appear.
Action
These four options determine what actions will take place during the import process.
-
Add New Records – Ignores all existing employees in the ALICE Receptionist database and only adds new employee records.
-
Update Existing Records – Updates any existing employees with the new information but does not import new records.
-
Remove Records not found in new import data – Deletes existing employees no longer active in Active Directory.
-
Full Sync – Applies all of the above variables to the import.
Default Employee Settings
These fields determine the default configuration of the imported employee. For details on the setting for each field, please refer to the Employee Tab section.
-
Card Action – Determines the action that will occur when a visitor selects the Employee Card.
-
Call Type – If the card action calls the employee, determine whether the call being placed will be an audio, video, or other type of call.
-
Notification Preference – Determines how the employee will be notified when a visitor checks in with them.
-
Card State – Determines how the card will appear, such as whether the card or its text will be visible. Or if the card itself will be visible.
Select Import. This process may take multiple minutes depending on the number of records being imported.
Once completed, a message will appear in the top right corner of the screen confirming the import was successful. The Employee listings will appear on the ALICE Directory within 60 minutes with the default Directory refresh settings.